Showing posts with label Seeds. Show all posts

Monday, May 12, 2014

Seedlings-in-waiting

Back in February and March, when snow was still coming down and piling up on the ground, this gardener was eager to do something for the garden, so I started planting packets of seeds indoors in my guest room conservatory.

Sorry Mom and Dad, you don't mind sharing your room with the plants when you come to stay, right?
Well, now I have seedlings.. and lots of them!

pepper seedlings
I have seedlings in my guest room conservatory..


seedlings on my deck..

tomatillo seedlings
seedlings in my garage..


I think I might have gone a little overboard.


Some of these seedlings are destined to a local garden club's plant sale and some to friends and family.  We'll see if I can find room in my yard for all that will still be left!

Tomato seedling - one of about 492.  Okay, maybe not that many, but there's a lot!
Of course, for the past few weeks, we have all been waiting for that magic Last Frost Date.  It is now within sight, and it is so warm out, that I could probably start planting now..

Isn't this one of the best uses for the red Solo cup?
...except all of my spare time is being used to work on building our awesome new Veggie Garden!
Stay tuned...
And happy planting!

cucumber seedlings in newspaper pots
p.s. Anyone want a tomato seedling?  I have a few to spare...

Saturday, February 1, 2014

The Easy Way to Start Seeds - Winter Sow Them!

I am, admittedly, a lazy gardener.  I don't have a lot of extra time on my hands with two young kids, so if there's an easier way to do things, I'm all about it!  That is why I was so excited to find out about winter sowing a few years back.

the blossom of Nasturtium 'Empress of India', winter sown
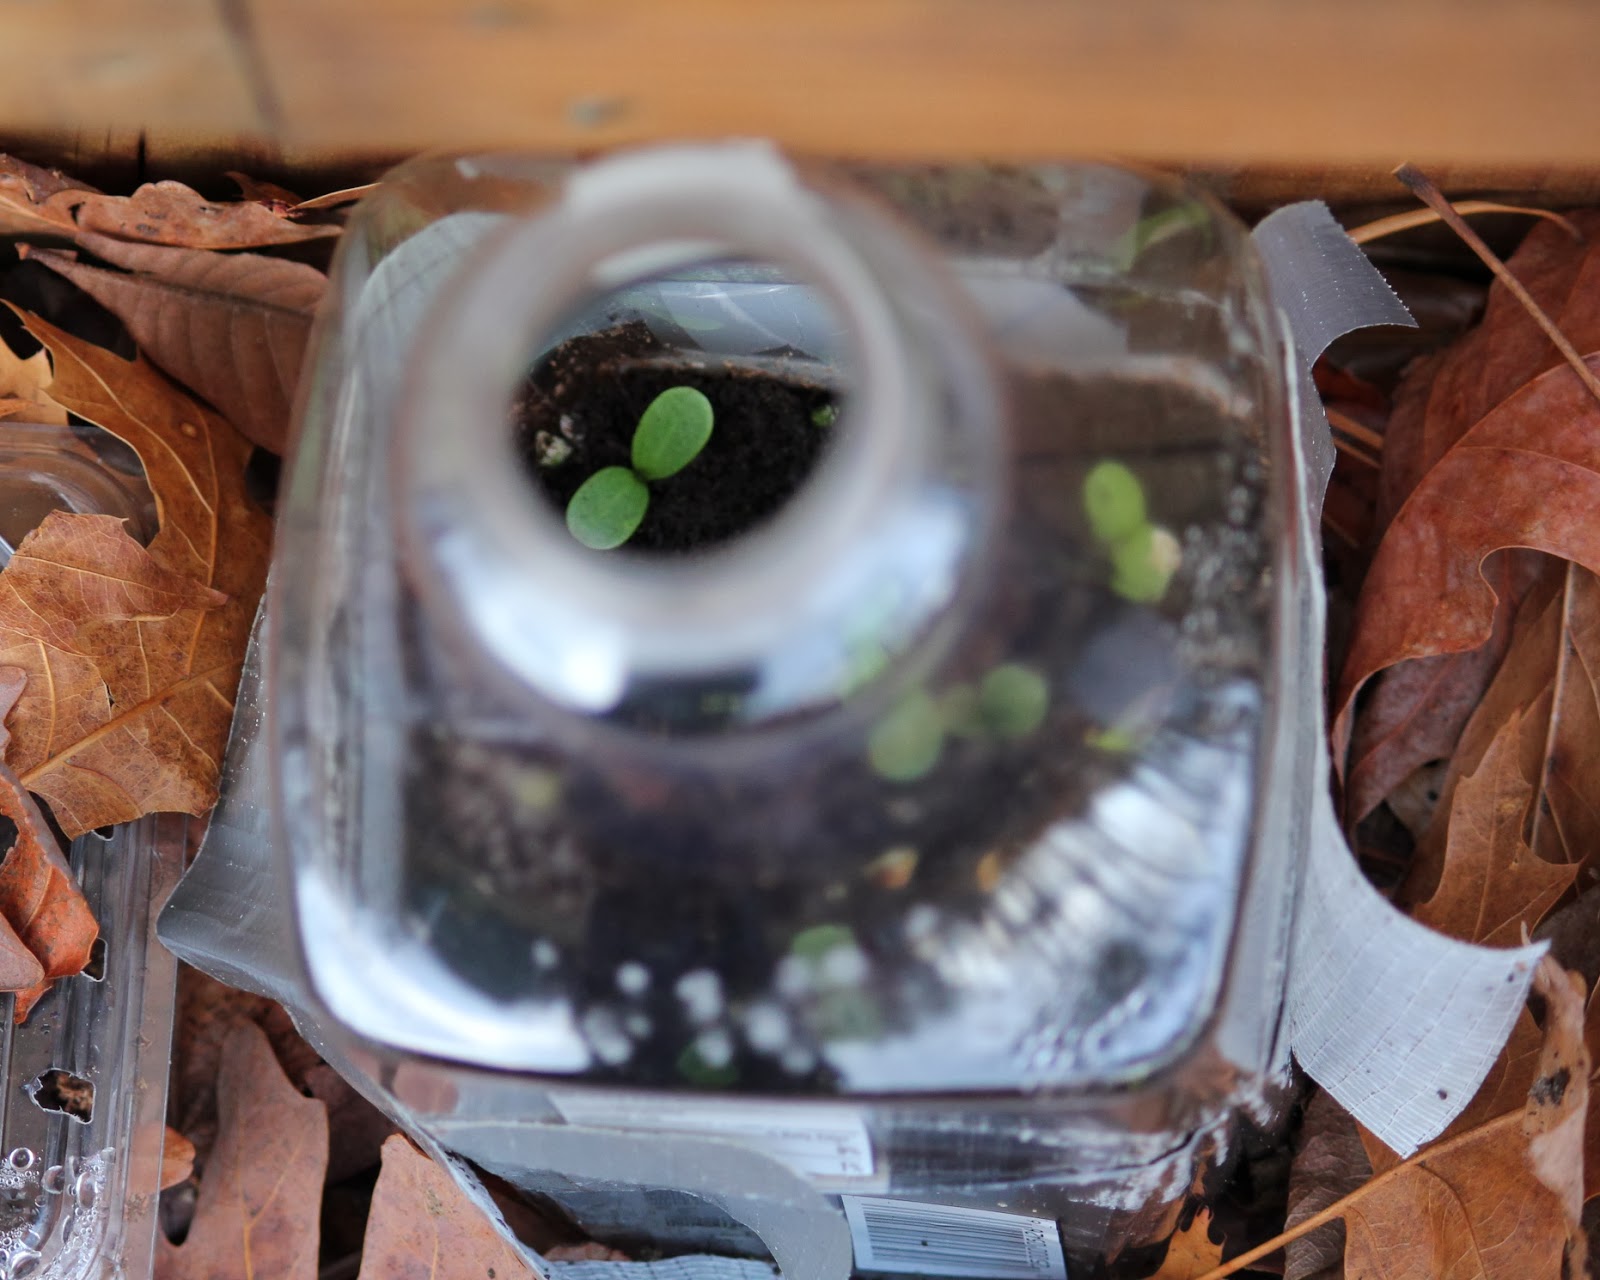
Winter sowing is a method of starting your seeds outside in winter in what is essentially little greenhouses made out of recycled containers such as milk jugs and plastic salad containers.  You let Mother Nature do the germinating. No lights, no heat mats, no nicking or refrigerating of seeds needed and less problems with damping off?  Count me in!

Winter sown seeds sprouting outside in a recycled juice container
So what type of seeds can you winter sow?  The best ones are perennials and cold hardy annuals.  Many vegetable and herb seeds can even be winter sown to give them a head start.  Winter sowing is especially great for those seeds that need moist stratification - being outside provides the seeds with the cycles of freezing and thawing that many perennials need to break dormancy and germinate.

winter sowed Balloon flower
For more information on what type of seeds do well with winter sowing, you can go to WinterSown.org, which has lists of seeds that can be winter sown.   Though winter sowing has been around for ages, Trudi Davidoff, who created WinterSown, really refined this technique and started the website as a great resource for gardeners.

So how do you winter sow seeds?

1. Cut clean milk jugs or juice bottles in half.  You can also use plastic containers such as salad boxes, just make sure to cut holes in the top for ventilation.  (You don't want to cook your seeds.)


2. Cut holes in the bottom for drainage.  (I use a screwdriver or a big nail to puncture holes.)


3.  Fill the bottom with about 2 to 4 inches of dirt (use a light mixture that drains well).  Water it well, and then let it drain.

4.  Sow your seeds.  Plant them at the required depth, or if they need light to germinate, just gently press them into the soil.

5.  Duct tape the top back on, and label.  (I label them in a couple places, as even permanent marker can fade over time.)


6.  Put outside in a sheltered spot.  Check on them occasionally to see if they need more water, especially after the seeds germinate and the seedlings start to grow.  As the seedlings get bigger, cut bigger holes in the top or crack the top a little bit to finish hardening them off.

Look at those roots!  These plants want out!
7.  Once the seedlings get big enough, transplant them where you want them!  Make sure to protect from frost if needed.

One of my Lanceleaf Coreopsis plants I winter sowed.
(I moved before I got to see them bloom, sadly.)
I've had a great germination rate with winter sowing.  The main problems I have run into was when I used too heavy of a soil (retained too much water) or used containers with too many holes (those berry containers will just dry right out!)  For a lot more great info about winter sowing, as well as a lot of answers to FAQ's, WinterSown.org and GetBusyGardening.com are two good resources.

winter sown Candytuft
Happy Gardening!


Thursday, December 8, 2011

Seeds: Next Year's Garden

The leaves have almost all fallen, and I have been busy planting bulbs, cleaning up the garden, and collecting seeds to save for next year. 

There could be hundreds of seeds in this rudbeckia seed head.
For many plants in the garden I am just letting nature take its course and letting them self-sow.  I wonder what plants will spring up where next year?

Tiny violet seeds.
I marvel at the ways nature has adapted to spread seeds.  Some seeds such as dandelions and Joe Pye Weed ride the wind on their little fluffy parasols.  Impatiens have exploding seed pods that will fling the seeds several feet away.  The hairy pods of Tick Trefoil, a wildflower/weed that occasionally graces my garden, will latch onto any animal or garden glove that brushes against it.

The seeds of 'Little Joe' Joe Pye Weed, Impatiens, and Tick Trefoil
There are also, of course, the seeds that travel long distances in the bellies of fruit-eating birds and then come out the other end.  I shall spare you pictures of that one.

Some seeds in my garden I chose to collect and save to plant again next year, especially those of annuals.  My easiest seeds to gather were those of the cheerful yellow Cosmos sulphureus.  These Cosmos were ones I had grown from seed that I had saved the previous year.  And the cycle continues.

Seeds of Cosmos sulphureus
For seeds that grow on seed heads, like my orange Zinnias, I cut the seed heads off once they turned totally brown.  


I then pulled the dried seed heads apart, separated the seeds from the chaff, and stored them in a cool, dry, dark place for next year. 


Each plant produces so many seeds that there is more than enough to store and share with friends and neighbors.

Even after harvesting the seeds that I want, there are many seed heads left.  In the backyard I leave them on the plant for the birds, and in the front I cut them off during my tidying up for the winter and set them out for the birds to enjoy.


Next year's garden shall be composed partially from the seeds that I have saved this year.  Plants for free?  It doesn't get better than that!
 

Sunday, August 21, 2011

The Good, the Bad, and the Ugly - Clematis Seed Heads


Some people love them, some people hate them.  After the clematis blooms fade, they are replaced by the often strange looking Seed Heads.  They can look very different depending on the variety of clematis.

Should I cut them off?  Well, that depends on whether you like how they look or not.  Some of them can be quite pretty and interesting (in the opinion of the Red House, anyways), whereas many of them can look quite alien or spidery, which may not be a look you are going for.  If you want your clematis to bloom more, you should cut them off.  This is especially important after the first flush of spring blooming clematis (pruning group 2) if you want any rebloom that year.  It takes energy from the plant to make the seed heads, so if you don't care for them, cut them off and redirect that energy!

Spidery-looking seed heads of clematis jackmanii
Each seed head has several seeds in it.  Each seed is composed of a seed pod (also called the achene) with a long tail attached.


When the seed head first emerges, the tails are smooth and shiny.

Unripe seed head of clematis rooguchi
These seeds are not ripe yet.  As you can see in the picture above, the seed pods are still green.
As the seeds ripen, the tails become feathery.  The feathery tails help the wind disperse the seeds when ripe.

Seed head of clematis Guernsey Cream
You can tell the seeds are ripe when the seed pods are completely brown as in the picture below.  The seed head will come apart very easily.

Ripe seed head of clematis Rooguchi
If the seed head has not been fertilized, the tails will still become fluffy.  However they will be much shorter, and seed pods will not have developed.


Can I plant the ripe clematis seeds?  Absolutely.  Plant them in sterile seed starting soil, thinly covered, and keep moist. Here are a couple links that have more detailed information about planting clematis seeds:
Clematis International Society
Brian Collingwood (a clematis fan who tells about his home trials in growing clematis from seed)
 
There are two disclaimers that comes with planting clematis seeds, however:
(1) The resulting plants will usually have different flowers than it's parent, especially when it comes to those beautiful large flowering hybrid plants.
(2) You might have to have a lot of patience.  Some seeds can take up to 3 years to germinate!  And then it can take another couple of years for the plant to flower.   So you might want to do a little research into your particular clematis to see how easy it is to propagate from seed.
(Propagating by cuttings and layering is starting to look mighty good, huh?)

Happy gardening!